Saturday, July 17, 2010

Some things just take time

Helloooo. Hope everyone's having a great weekend. Mine was off to a great start with a fantastic open studio this morning, the printing of a new design (ooooooh, more on that soon!), and then a relaxing afternoon catching up on to-do's, and preparing for my trip away.

Did I mention that I'm off to Malaysia and Bangkok next week? Yay! My parents and brothers are all overseas at the moment so we're congregating in KL and going to relax by the beach for a few days. I'm soooo in need of a warm, restful break, and some quality family time will be great too. And then I'm visiting a good friend in Bangkok for quality girly time. 'Tis going to be awesome.

Anyway, the other thing I wanted to say was thank you to all the people who left really kind comments on my last post! The thing that excited me most was that so many people found my little quote from back in 2006 inspirational. I think it is so important to know that some dreams might take a long time to realise, but with focus and hard work you can get there in the end. Back in 2006 it really did seem like a pipe dream, but it came true not because I have the most amazing skills or did the right uni degree, but due to a lot of hard work.

Speaking of things that take a long time to come around, here are a couple of projects I've been planning/working on for AGES that I finally finished and photographed!

First up, my roman blinds!!!


Handmade roman blinds in my flat

I can't tell you how much time and research went into making these. There are soooo many different techniques outlined on the net, and so many contradictions. So I bought books. I questioned anyone I knew who'd made them for tips. I called Suzie Fry. I drove an hour across town to a blind making company. I ad-libbed. And the eventual result was great.
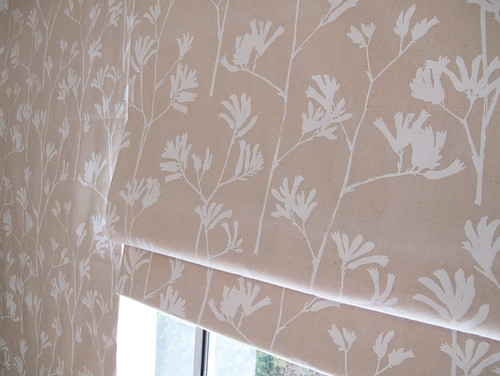

Handmade roman blinds in my flat - featuring Kangaroo Paw (available soon!)

I did take pictures of the process, and I do plan to post a tute eventually. But my #1 tip for now - use double sided fabric tape instead of stitching across. It'll be your best friend ;)

My other project that's been sitting idle since September last year - reupholstering my armchair!

Here's the before shot:
photo
Armchair reupholstery - before

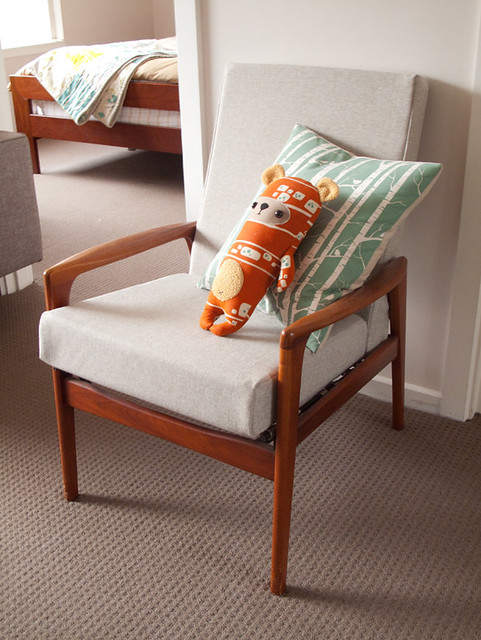
And after:
photo
Armchair reupholstery - after!

Nothing fancy, just a nice plain fabric that allows me to decorate it up with different cushions and make it suit any room (how nice would it look if I had floorboards??). I went for a lovely warm grey Oatmeal fabric.

I won't begin to tell you of the disgustingness that awaited me when I pulled off the old covers. Ewww. New foam was definitely in order (thanks Suz for collecting it for me!).
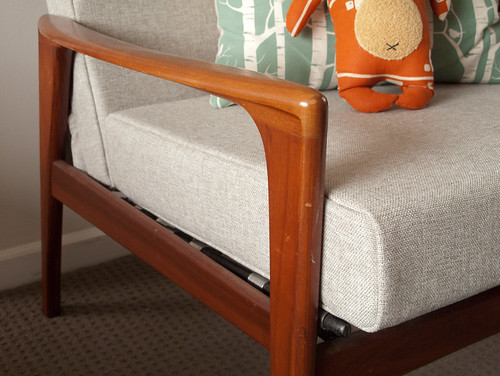

Armchair reupholstery - closeup

It was the first time I've upholstered anything and it's far from perfect, but I'm happy with it :)

xx

Wednesday, July 14, 2010

My favourite store - Wilkins & Kent!

I have something very exciting to share.

If you look back over my blog you'll see that my love for the Wilkins & Kent shop and their furniture goes way back. In fact, here's a quote from one of my blog posts back in 2006:


"Now, if only I could find some sort of studio job where I get to make patterns at times, now that would be great. I'm almost starting to lean away from the whole client oriented web/graphic design world and am getting more enjoyment making things. Crafty things to sell in shops maybe, like Douglas & Hope or Wilkins & Kent. Ahh, pipe dreams."


Isn't that kind of amazing & funny to go back and read!?

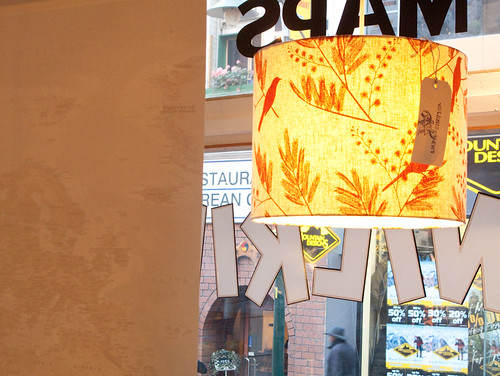
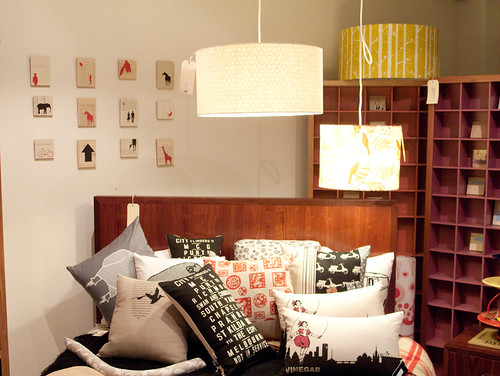
Anyway... the exciting news? Ink & Spindle have just collaborated on a range of lamp shades with Wilkins & Kent!!

photo
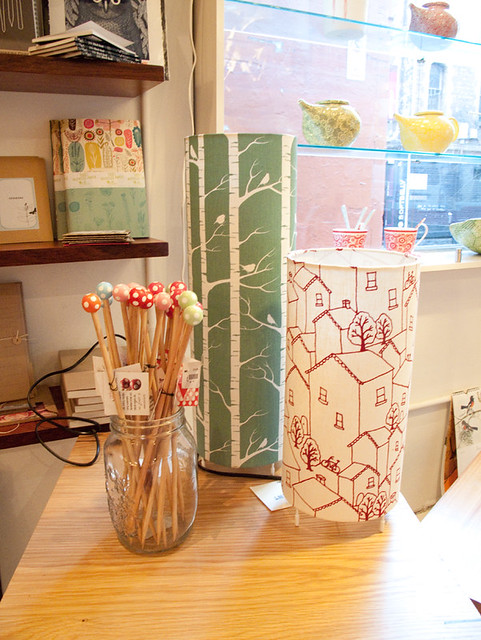
Rooftops & Birch table lamps

photo
Gold Birch drum shade

Acacia drum shade

Acacia, Delft and Birch drum shades

We've also supplied each of their stores with a waterfall swatch set so that people can place custom lampshade orders.

I am sooooo happy with how these turned out. My favourite is the Gold Birch drum shade. I so want that in my flat !!!

Pipe dreams, indeed ;)

xx

Wednesday, June 30, 2010

States of Nature

If reading those stupid comments on Apartment Therapy did anything to diminish my faith in people and their capacity to be kind (or half intelligent), then the lovely Simone of States of Nature fixed that right back up.

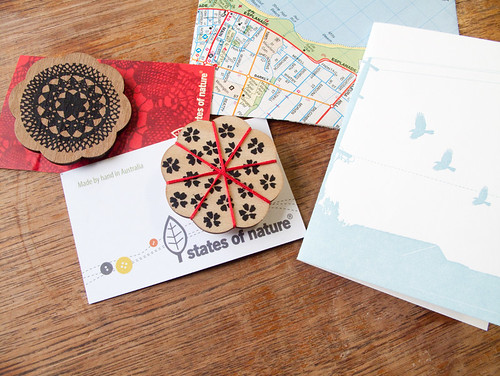
A few days ago I received a completely random parcel in the post - the best kind!! Simone and I had never met, but she took upon herself to send me a little cheer up parcel and some kind words after reading my last blog post. Isn't that a completely awesome and thoughtful thing to do?


Gorgeous little parcel from Simone of States of Nature - and how cute is that little envelope made from a map!

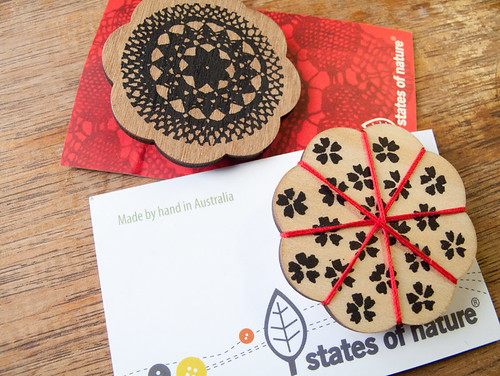
Brooches from Simone of States of Nature

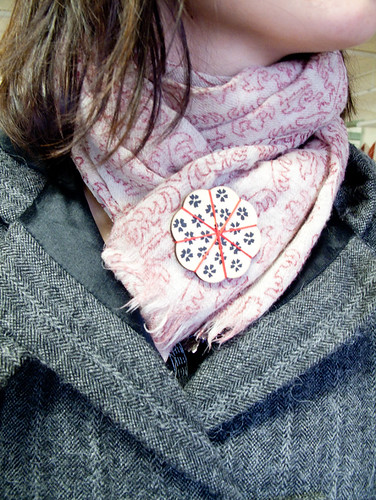
And the funny thing is - I'd just lost the brooch that I wore on my scarf every day, had always liked Simone's work, so the pieces she sent me came at a perfect time. And I love them!


Brooch from Simone of States of Nature (scarf from Elk)

Thanks again Simone!! xx

Thursday, June 17, 2010

Sigh

One word - Sigh. I don't have the energy to engage in an intellectual property debate but if you're feeling passionate about the below and want to engage in some good old fashioned comment box squabbling then feel free to do so at Apartment Therapy over here.

0615thieved.jpg
My Birch Forest design - original and
Etsy rip-off

Big thanks to Jenny Butler at Apartment Therapy for the post though. I know she wasn't expecting such hearty comments but the sentiment was there and I'm all for raising awareness of rip-off merchants!

Thursday, June 03, 2010

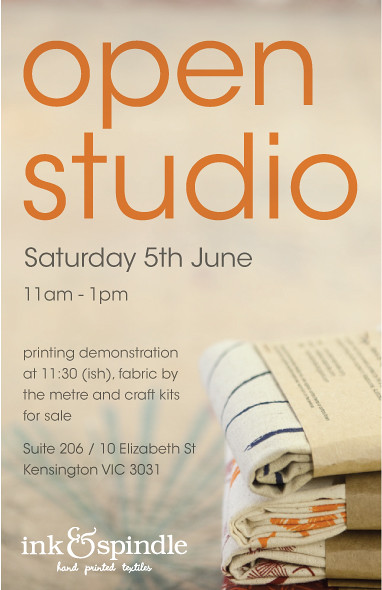
Open Studio this Saturday

open studio poster
Photography by Chris Middleton

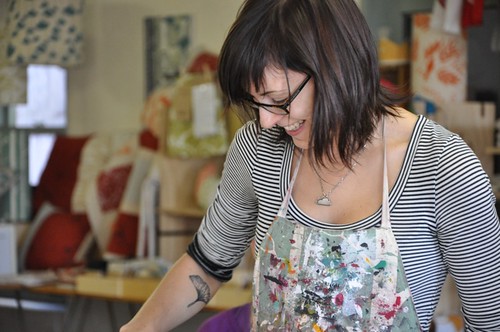
Better late than never! Thought I'd let you know we have an Open Studio this Saturday from 11-1pm. There'll be a printing demo! Hope to see you there!

Saturday, May 29, 2010

Rooooooad triiiiiiiiip!!

Remember my good friend with the beautiful house out Leongatha way? Well Rick also happens to have a fantastic cafe, which was recently converted into a cafe & shop. Which now stocks our wares! (who would have thought that would happen, back in the day when we worked together at a multimedia company).

Anyway Teegs and I drove to Leongatha to check out the new cafe/shop and also meet up with the lovely ladies from Mookah! We had lunch at the cafe, and then went to Wonthaggi to check out the Mookah studio and take home pumpkins and rhubarb from their garden.

Here's some pics!

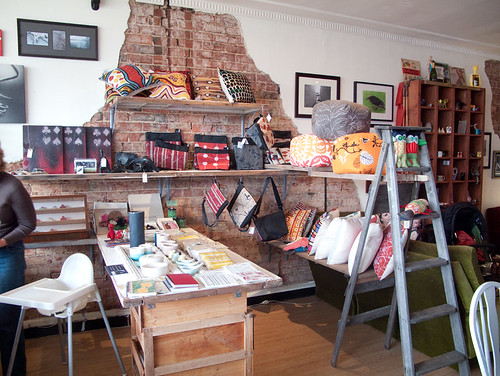
The new shop section of the cafe
The new shop area of the cafe, with goods by I&S, Mookah, Mattt, Christopher Plumridge, Rebound Books, Zac Chalmers and many more...

The ladies of Mookah and Teegs
The lovely Mookah ladies, and Teegs.

Stools covered in our canvas weight fabrics
Stools in the front window covered with our canvas weight fabrics

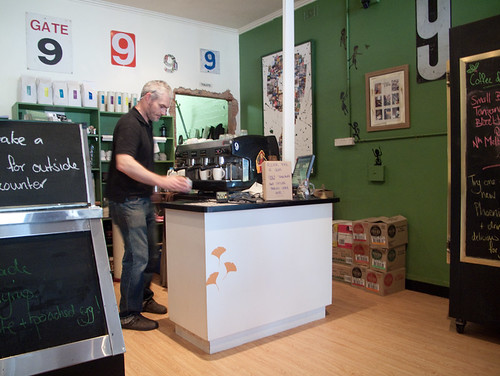
The barista hard at work
Rick hard at work being barista

Teal...
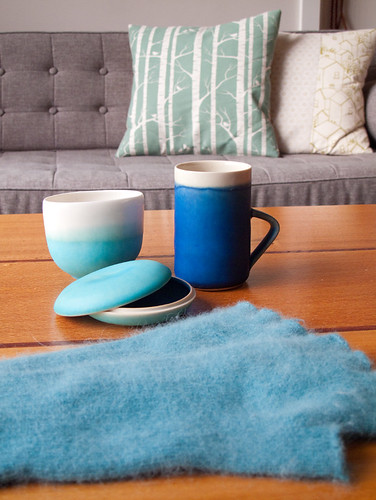
And I couldn't head home without purchasing some more Christopher Plumridge ceramics to add to my collection (which weirdly match these new arm warmer gloves).

All in all a great day.

Thursday, May 13, 2010

Uppercase awesomeness

Hellloooooooo! I'm back after Stitches & Craft! It was epic. It was exhausting. It was fun. So good to see all our fellow crafty ladies - both stall holders and customers alike. Thank you to everyone who came by! And thank you to Kristen Doran who came to stayed with me, was a great guest and tolerated me pointing out my high school every time we drove down Kings Way.

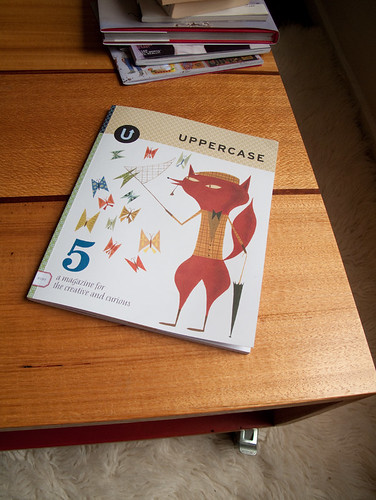
We came back to work to find this piece of publishing awesomeness awaiting us. Uppercase Magazine from Canada. Beautifully designed, fantastic content - all about craft and design and illustration and typography. Right up my alley.

Uppercase magazine
Uppercase Magazine

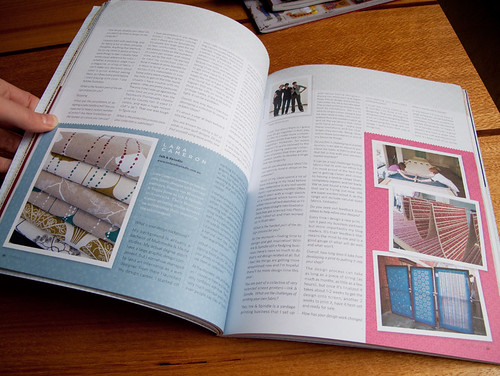
And I just happen to be lucky enough to have been interviewed for it, along with Denyse Schmidt and Michelle Engel Bencsko. Good company, no? I'm so chuffed. Thanks Uppercase!!!

Uppercase magazine
My interview in Uppercase

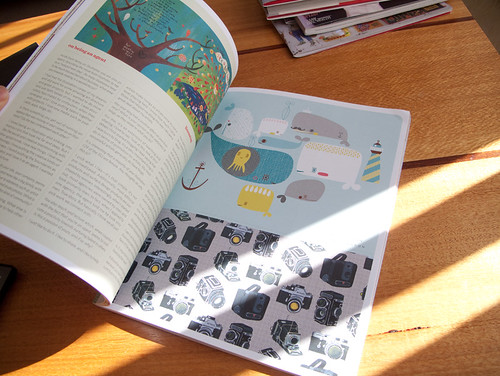
Uppercase magazine
Uppercase Magazine - illustrative awesomeness

Uppercase magazine
Uppercase Magazine - illustrative awesomeness

Uppercase magazine
Uppercase Magazine - studio tour awesomeness

Niiiiiiiiice!!

Monday, May 03, 2010

Stitches & Craft Show Melbourne - this week!!


Hey everyone, I've been a bit quite on the blog front whilst we manically prepare for the Stitches & Craft Show that starts THIS WEDNESDAY at Caulfield Racecourse!!

Yarraville Market Stall
Mmmmmm, cut fabric pieces arranged by colour all pretty like

It should be a fantastic show with lots of independent designers in the Incubator section again (in other words - an alternative to boring, mass produced, traditional crafty crap).

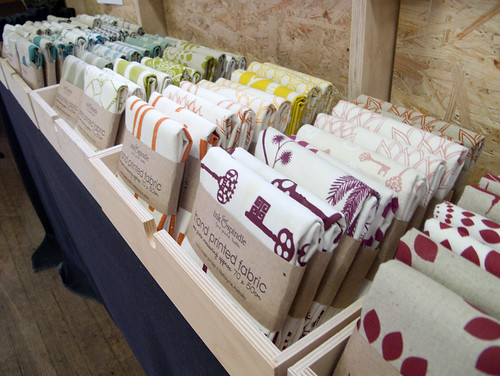
AND we're holding a screen/stencil printing workshop where you get to print a stencil design onto one of our gorgeous Organic Cotton/Hemp tea towels (email or call us to pre-register or register on the day at our stand).

Hope to see you there. Do come by and say 'hi' at least :)

xx

Sunday, April 25, 2010

Giveaway for Liam

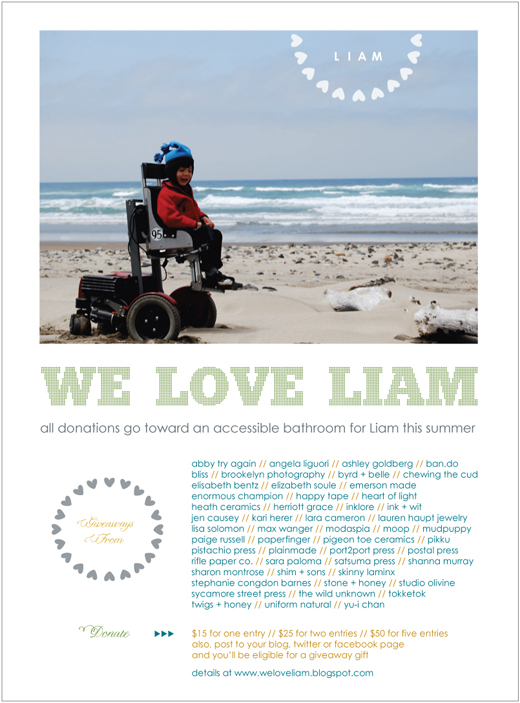
You might remember some of the letterpress collaborations I've done with the lovely Lynn from Satsuma Press? I've loved working with Lynn over the years, and am proud to be a part of the giveaway/fundraiser she has put on for Liam, her son with neuromuscular disorder called Spinal Muscular Atrophy Type 2.

Along with 51 other designers & artisans I am donating a $50 gift voucher to the giveaway and you can it enter here. There's an amazing collection of goods to be won.

giveaway for liam

xx

Tuesday, April 20, 2010

The lurgy

I have one word for you. Bleeeeeeeeeergh. That's how I've been feeling for the last hmm.... 7 days now, trying to get over a nasty cold (and no, not the "flu"). It just goes on and on and on. But it's also pretty standard for me. I get one nasty cold every couple of years and then pretty much nothing in between.

Anyway, because a blog post is not a post without pictures, here's some shots from the Ink & Spindle open studio over the weekend, at which about 50% of me was present and I sounded like Madge.

open studio day
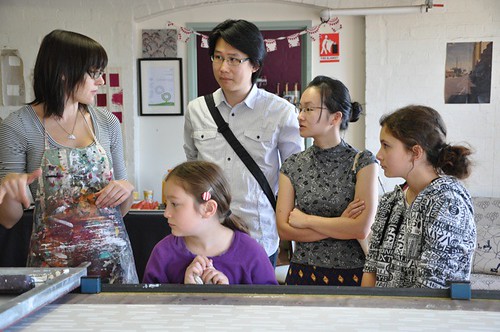
Doing a printing demo

open studio day
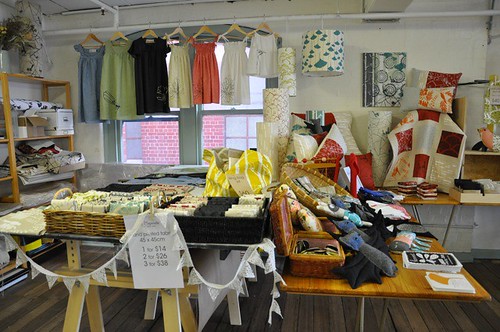
The Ink & Spindle and Little Harvest shop - thanks to Lara D for making it look pretty :)
open studio day
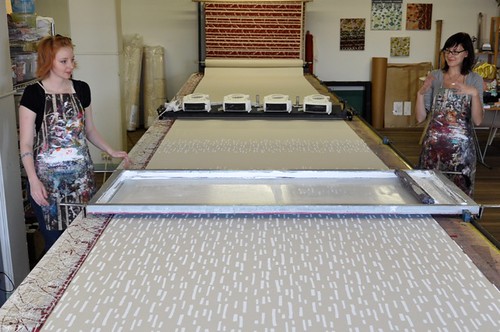
Me, printing away

open studio day
Explaining to the onlookers

'Twas a great day. xx

Thursday, April 15, 2010

Print media love...

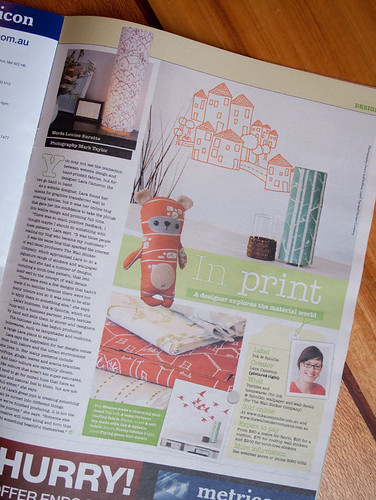
I'm rather belated in writing about this since it happened a couple of weeks ago now, but I was interviewed by the Herald Sun Home magazine a little while back about my designs & collaboration with The Wall Sticker Company!

Herald Sun Home magazine
Lara's Herald Sun Home magazine article

I must do a shout out to Jhoanna of One Red Robin who's Peg Bear softie appeared in the article but didn't get a credit. I love my peg bear :)
Oh and also, look what I stumbled across when flicking thru the Sunday Life magazine the other day:

sunday life magazine
Acacia in the Sunday Life magazine - styling by Caroline Velik

The photo shoot was styled by Caroline Vekil who happened to be visiting the photographers in our building one day. She borrowed 6 different fabrics for her shoots, and told us what magazine they'd be in but we promptly forgot. So it was quite a nice surprise.

sunday life magazine
Acacia in the Sunday Life magazine - styling by Caroline Velik

I'm on my second day home sick with a nasty cold (it feels veeeeeeeery weird to not be in the studio whilst Teegs and Lou are beavering away) so I'm off to go further deplete the earth's supply of tissues.
Sunday, April 11, 2010

Hello from mid Autumn

inspiration for new prints
Eucalyptus on my dining table - inspiration for new prints

Oooh okay, it's been quite a while since I've popped in to say hello. And not really any good excuses.

Life has just been rolling along. Riding my bike. Going to dancing and Muay Thai classes. Seeing an Osteo to fix a sore shoulder/back that I've had for years and years.

Had a very quiet and slow Easter whilst a lot of my friends and family was away, and although it was a tad depressing it was also good to have some mental space to be creative. And so I did! Would you believe that *gasp!* I'm working on a new print?? Something that happens far too rarely these days.

Anyway here are some pics that sum up some of the last few weeks. All housey photos because I forget to take my camera anywhere other than home or work. And of course it's nice to share my home with you all so it's not just me enjoying it.

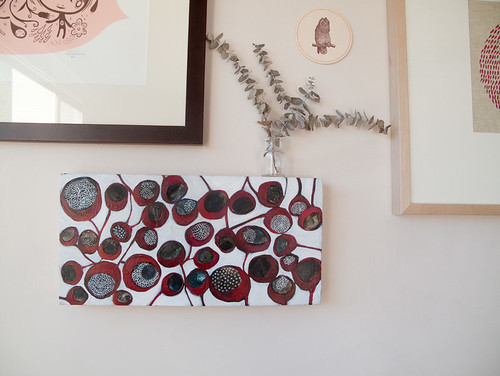
'blood pods' painting by Tsk Tsk
I bought this gorgeous painting from Tsk Tsk a few weeks ago and am slowly working on a wall arrangement of red things to go with it

new wall arrangement
The new painting in context. 'Blood Pods' by Tiel Seivl-Keevers. Love it.

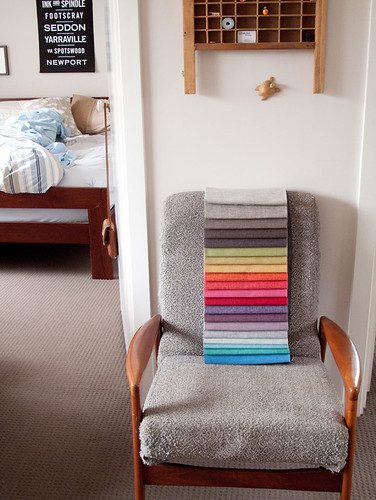
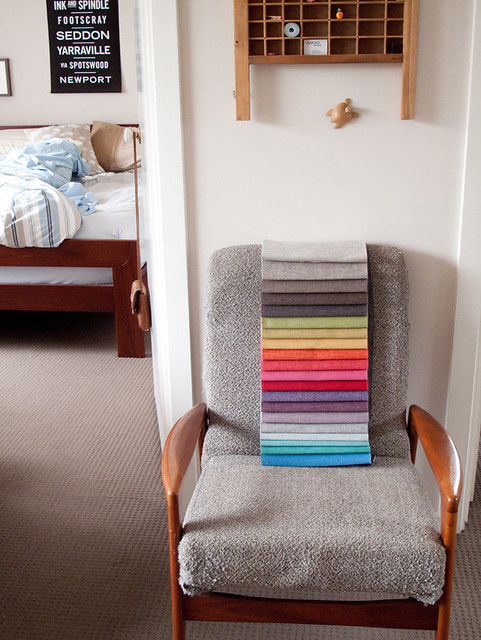
upholstery swatches for covering armchair
Planning to recover my old armchair. Furniture store friend let me borrow some swatches. I'm going with a pale warm grey called 'oatmeal'. Exciting!

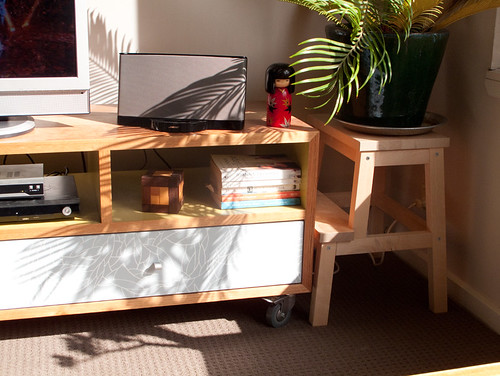
sunshine
Sunshine. I fell in love with my flat for it's big North facing windows and am already enjoying the autumn sun streaming in all day. It's going to be fantastic during cold winters.

Time for brekkie. xx

Monday, March 22, 2010

Tamarillo!!!

Ooh ooh ooh guess what!? We just launched a proper collection of fabrics!! Allow me to introduce...

tamarillo
tamarillo collection
Introducing - the Tamarillo collection!!

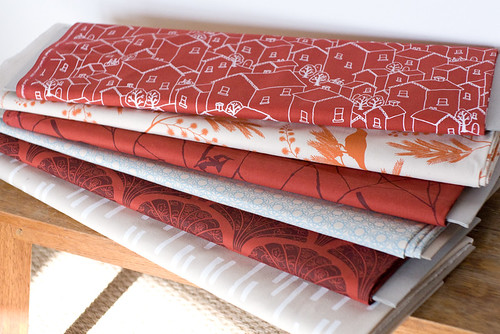
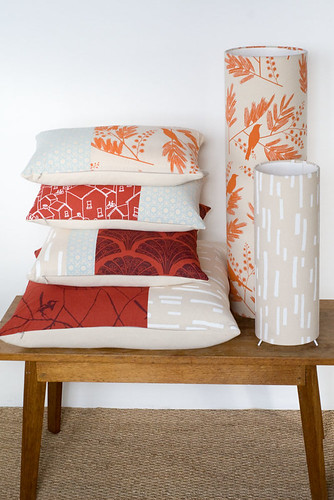
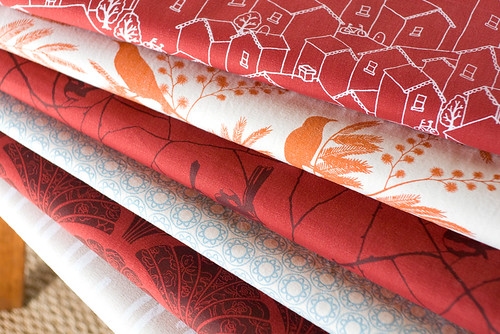
How pretty does it look! The fabric is all organic & fair trade and the red basecloth is herbally dyed using madder root! It's so much fun to finally launch a proper 'collection', do a nice photoshoot and make a range of products with it.

tamarillo collection
The Tamarillo collection - cushions and lamps!

tamarillo collection
Tamarillo - fabric bolts in canvas and light weight

The fabrics are available in the Ink & Spindle shop in both canvas and lightweight. We haven't printed huge runs of these yet so if you like something, snap it up quick smart!

Thursday, March 18, 2010

The last few weeks in review

It's been quiet over on this here blog but not so quiet in my real world. Lots going on! Printing printing over at I&S, and most excitingly working on our new collection! That's right, a collection! Not new designs but a new suite of colourways that go together which we've been making into cushions and lamps and a quilt so we can do a photo shoot! Hoping to launch the range early next week!

And aside from work I've been filling up my weeks and weekends with beach-house trips with my folks, Muay Thai classes and going back to my old dancing class, which has been fun! Doing more active stuff now than I ever have, and definitely feeling the endorphins from doing so. Reckon this is the happiest I've been in a LONG time.

The only downer over the last few weeks was the rain damage our building suffered in the recent storm. All four floors of our building were raining inside, and lots of people lost a lot of stock and equipment. We got off relatively lightly but had a lot of cleanup to do. Still, it hasn't affected our love of our building and all the people in it.

And on that note I have to share this cute 'Ginkgo' video that Yong our next door neighbour made the other day! Isn't he sweet?

Wednesday, March 10, 2010

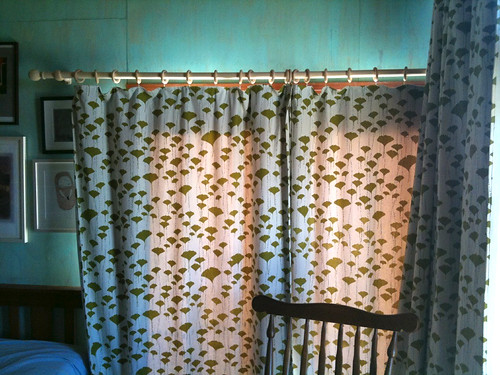
Ginkgo curtains

Whilst we're on the topic of all things Ginkgo (thanks everyone for your kind words about my new ink), I have to show you these lovely curtains that a good friend of mine just put up in his son's bedroom! Please excuse the iPhone pics...

ginkgo curtains
Ginkgo curtains in Gus's bedroom

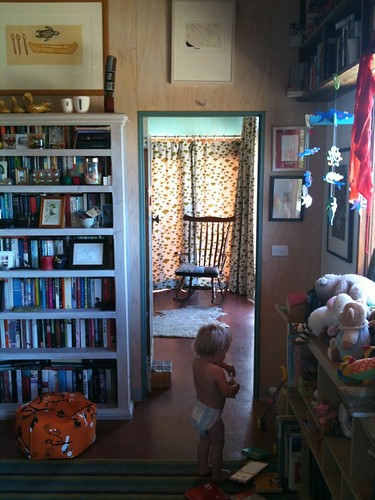
Remember this house, well I'm super proud that they've chosen Ginkgo curtains to be a part of it. They tie in really nicely with the rest of the house which is colourful and homely.

ginkgo curtains
Ginkgo curtains & Gus

xx!

Monday, March 08, 2010

Tutorial - cut your own mat board for picture framing!

Sorry it's taken me so long to finally get around to posting this! Quite a few people expressed interest in a tutorial on my picture framing post, so here it is!

Mat cutting can be a lot of fun. Many of the lovely little prints you get from Etsy etc aren't a standard size, so being able to frame them properly in a shop bought frame is a very handy skill to have!

With the right setup, and familiarity with your tools it can be super easy. I struggled with my first few but once I had a bit of practice it was so easy and so satisfying. I've included some tips here that will help you to avoid the troubles I had!

mat board cutting tutorial
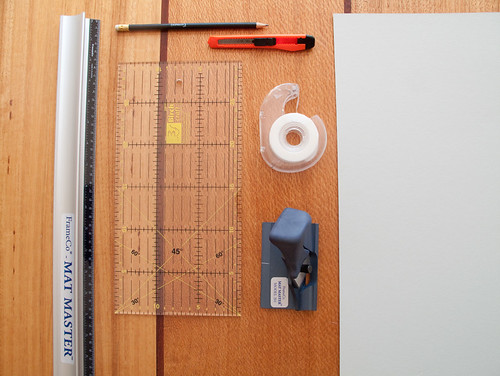
Materials required

You will need:
- A bevel cutter and guide rule. I got this set from Frame Co for $126.50
- Mat board (AKA Mount board) in a colour of your choice. Again I got mine from here.
- Pencil
- Cutting knife
- Flat quilters ruler (optional)
- Sticky tape
- Large sheet of thick cardboard or some spare mat board to use as a "cutting mat" (do NOT try to use a green cutting mat, it's too tough!)

mat board cutting tute
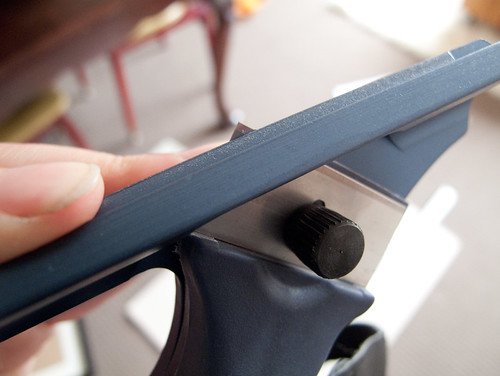
Close up of bevel cutting head - very fun to use

mat board cutting tute
Measuring

Step one: measure your artwork width and height, including the space you want to leave around the artwork. If your artwork has a defined edge you can measure to this point or slightly beyond it to leave a nice white border around your print.

Next, measure how big your mat board needs to be to fit inside your chosen frame. Take a larger sheet of board and trim it down using a plain cutting knife and ruler, making sure it's perfectly square (as in 90 degree corners)!! The quilter's rule can be handy for this.

mat board cutting tute
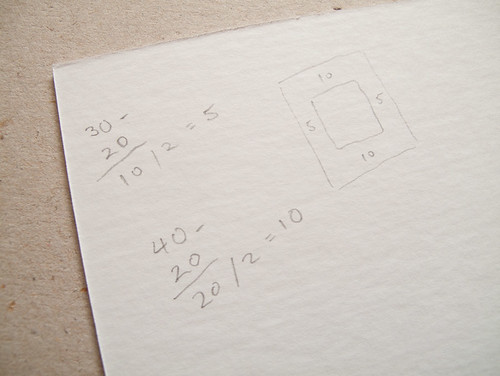
Doin' maths.

On the back of your cut mat board, do some maths to figure out the position of the hole you're going to cut. Eg: (board width - artwork width)/2 = left & right width. Sometimes it can look better to leave an extra 20% at the bottom so it looks more visually balanced. Up to you!

mat board cutting tute
Mark out your lines

Step two: Use your previous calculations to measure and mark where you are going to cut. Draw the lines on the back of the mat board, extending all the way to the edges. Make sure it's all perfectly square! (again quilter's rule can be handy but not essential, you can just do it the old fashioned way).

mat board cutting tute
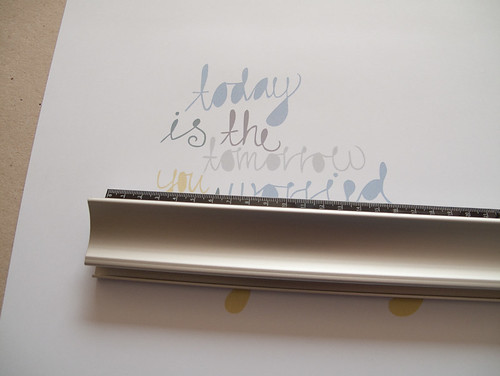
Bevel cutting head - with blade pushed out

Note: Before you start cutting, make sure the depth of your bevel cutting blade is correct. Push the blade out and line it up with a piece of your mat board. It should extend just half a mm beyond the thickness of the board for a clean cut. Too deep and it'll cut too far into your cardboard "cutting mat" and affect the smoothness of your cut. The blade depth is adjustable.

mat board cutting tute
Cutting edge 1

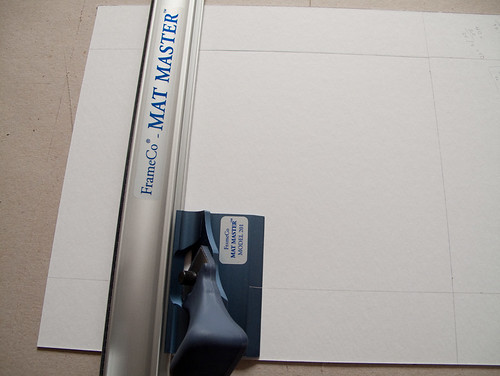
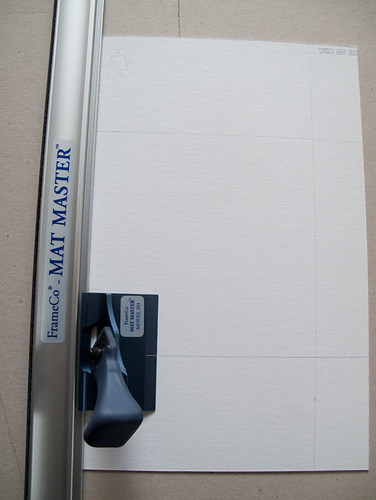
Step 3: It's time to cut! Place your mat board face down on your cardboard "cutting mat". Remember, don't use one of those green cutting mats as they're far too hard and won't let your blade slide easily.

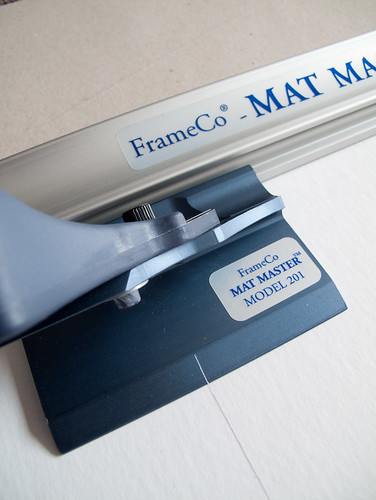
Place the ruler exactly in line with the left hand pencil line. You will be cutting away from yourself. Position the bevel cutter so the little marker is in line with the pencil line closest to you.

mat board cutting tute
Closeup of start position (this isn't a sponsored post by the way! That's just how my tools are branded!)

Push the handle down firmly and slowly cut away from yourself until the marker on your bevel cutter reaches the pencil line at the other end. Precision is very important!! Keep your elbow low to help with the smoothness of your cut.

mat board cutting tute
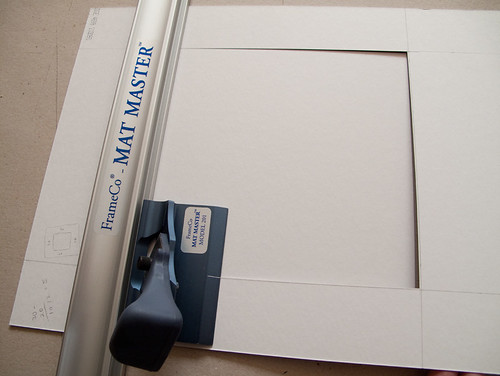
Cutting edge 2

Rotate your board counter clockwise so you're starting at the line you've already cut. Cut the second edge in the same way. Depending on your equipment, you might find that your first cut is 1mm off the pencil line. Ignore this when positioning your cutter head. Just refer to the pencil lines for start and stop positions. If it's not producing a clean corner then just take note of where you started and stopped and adjust accordingly.

mat board cutting tute
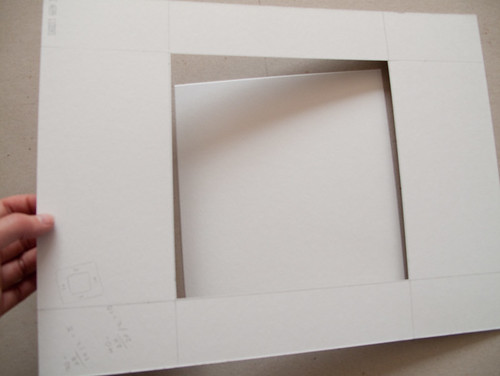
Cutting edge 4

Rotate your mat board counter clockwise again and cut the third edge. Repeat for the fourth edge. In this pic I'm holding the board up slightly just so you can see where I've cut.

mat board cutting tute
Lift it away!

If you've cut accurately, the outside of the mat board should just lift off leaving the middle behind! If you've got some little tags in the corners holding the middle in place, gently cut them free with a spare blade.

mat board cutting tute
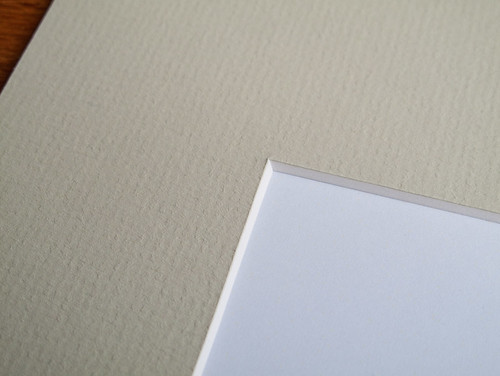
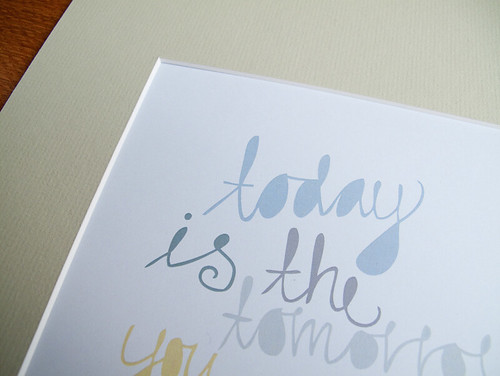
Oooh pretty

Turn the board over and admire your corners! Ooh, pretty. I like how the white core stands out on a coloured mat :)

mat board cutting tute
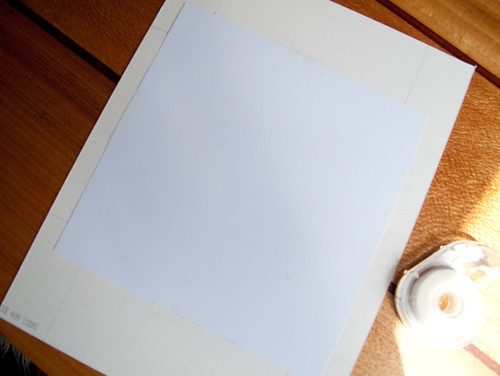
Tape your print down

Carefully position your print in place and tape to the back of your mat.

mat board cutting tute
Closeup

mat board cutting tute
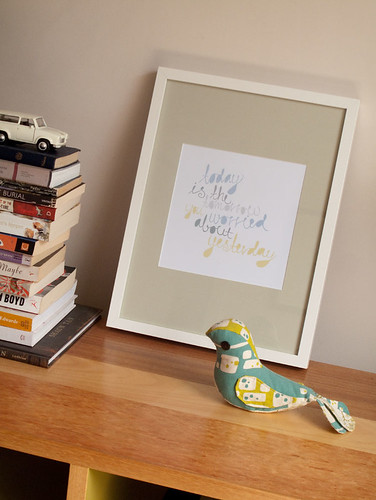
Finished! Today print framed with DIY cut mat board for a ready made frame.

Pop it in your frame, and voila! You're done!