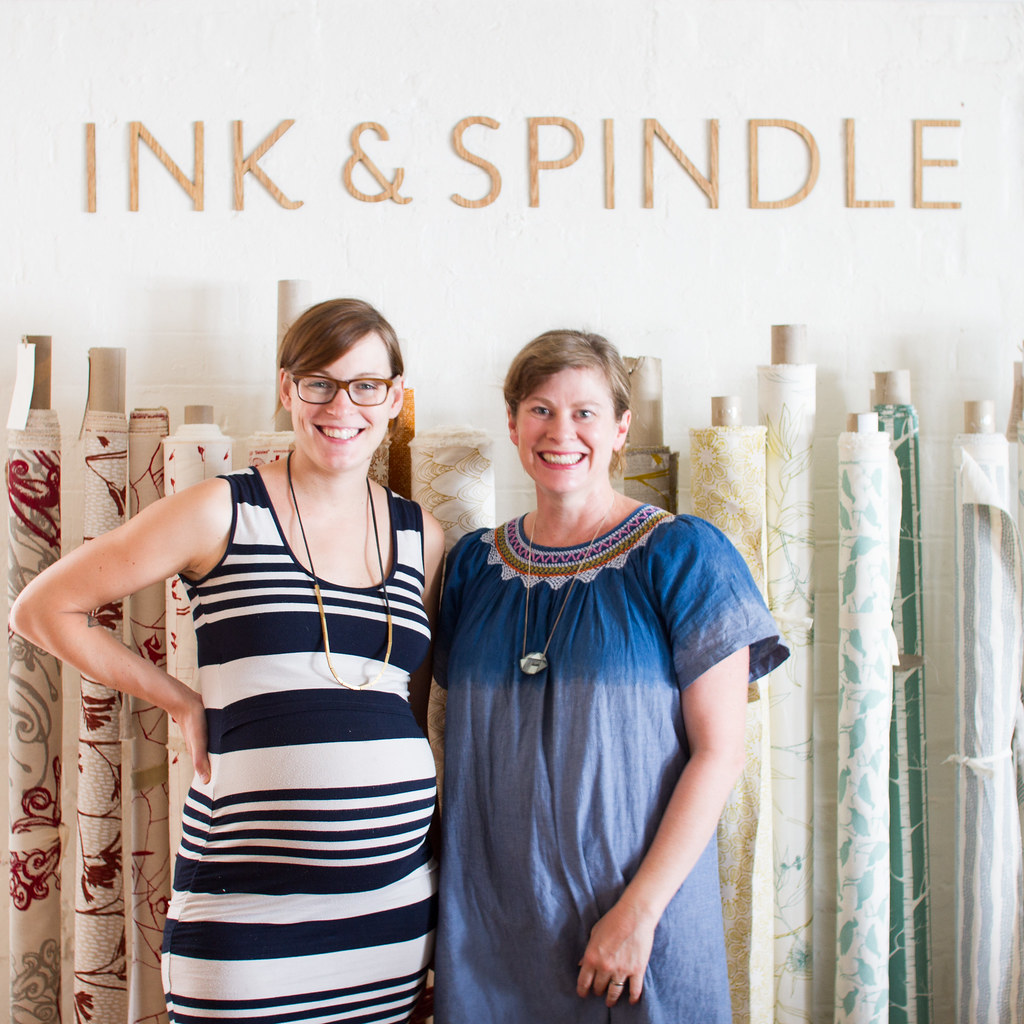
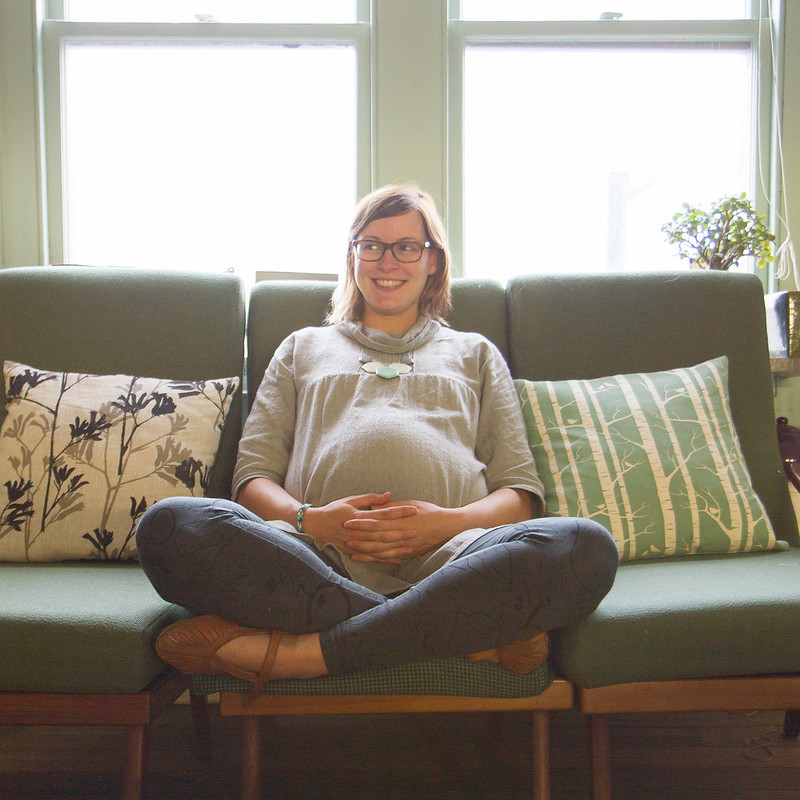
Last day in the studio before maternity leave
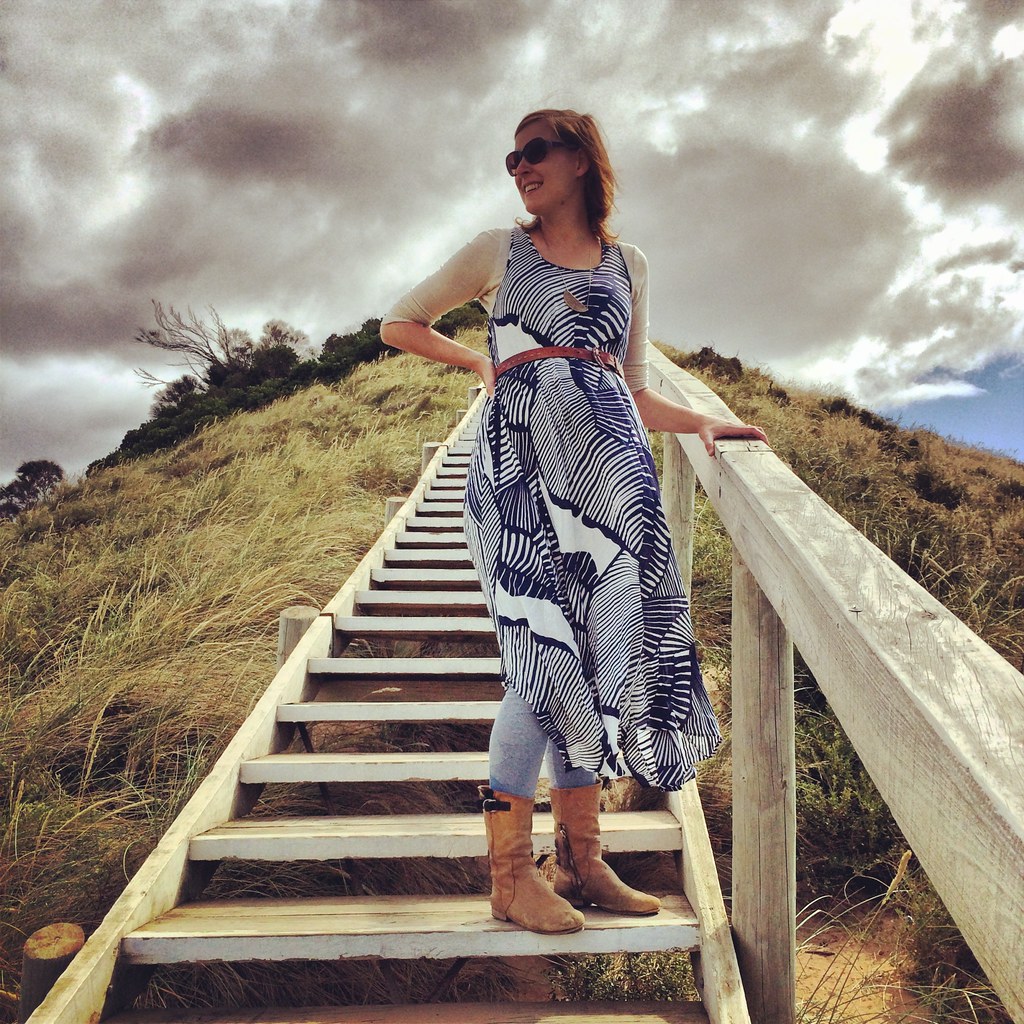
So, I look pretty happy in this photo, but I tell you what - one week later, now that my due date has come and gone, I'm starting to feel pretty over it! It's one thing to be pregnant and busy busy finishing off everything that needs to be done before bubs arrives, and another thing entirely to be finally ready, waiting and realising that I have absolutely no control whatsoever on when this baby will come out! And being someone who strives for predictability in all areas of her life... ha! Yes yes I know that this is *just* the beginning and I can expect pretty much zero predictability for the rest of my life... better start getting used to it.
Anyway here's some things that have been happening over the last little while...

Hanging mobile in progress - timber birds fresh from the lasercutters
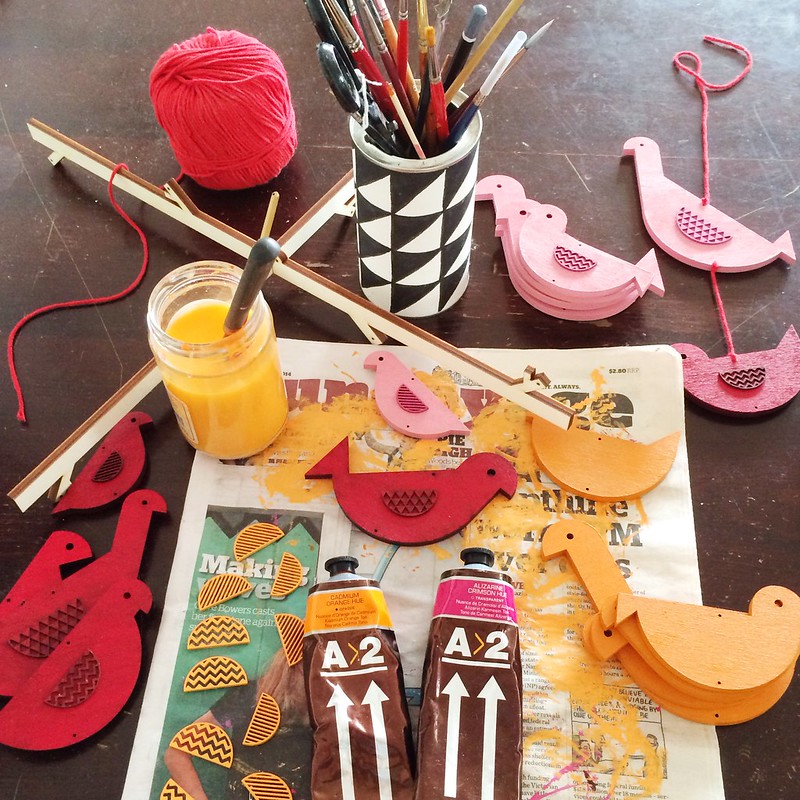
Hanging mobile in progress - painting the birds and sticking on their wings

The beginnings of a new print inspired by Bracken fronds I collected on a walk
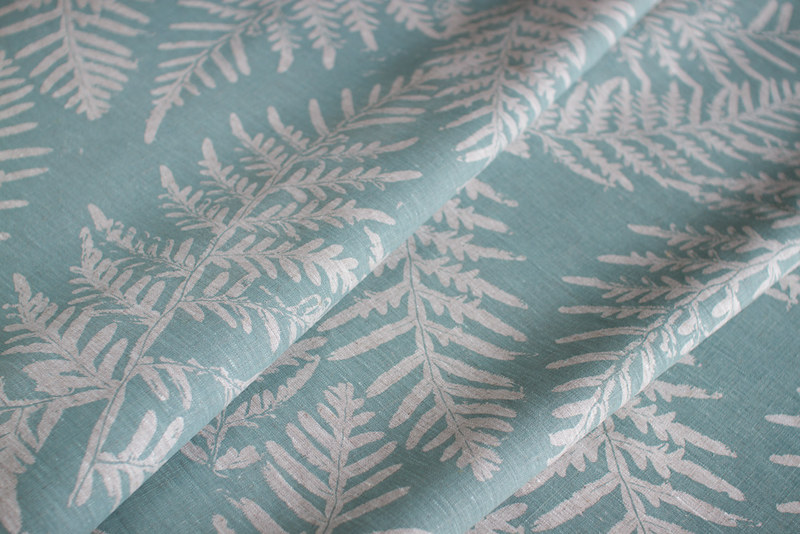
The Bracken print come to life! I had a great time designing this and love that it works as an inverse print - with the background printed in the ink colour instead of the leaves.
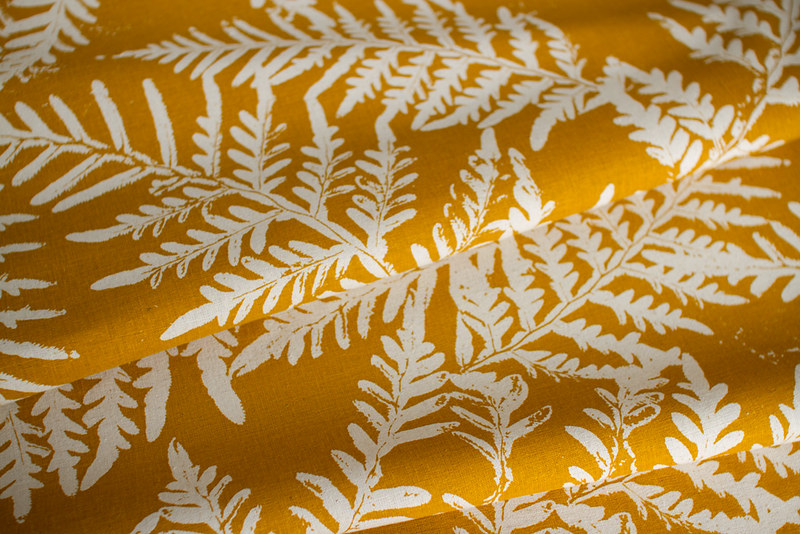
Bracken printed in Turmeric - one of my favourite colours :)
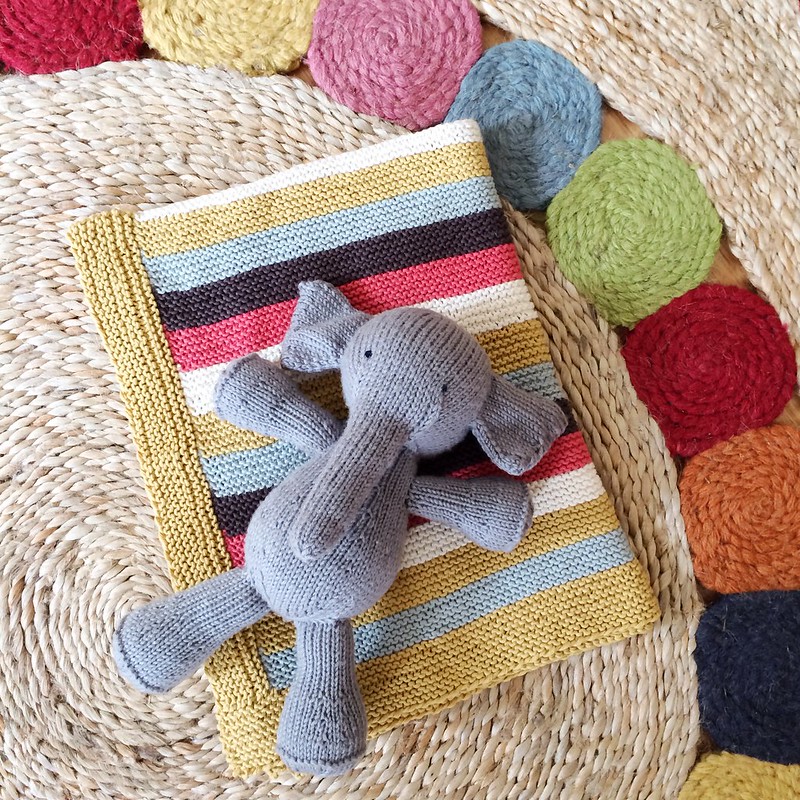
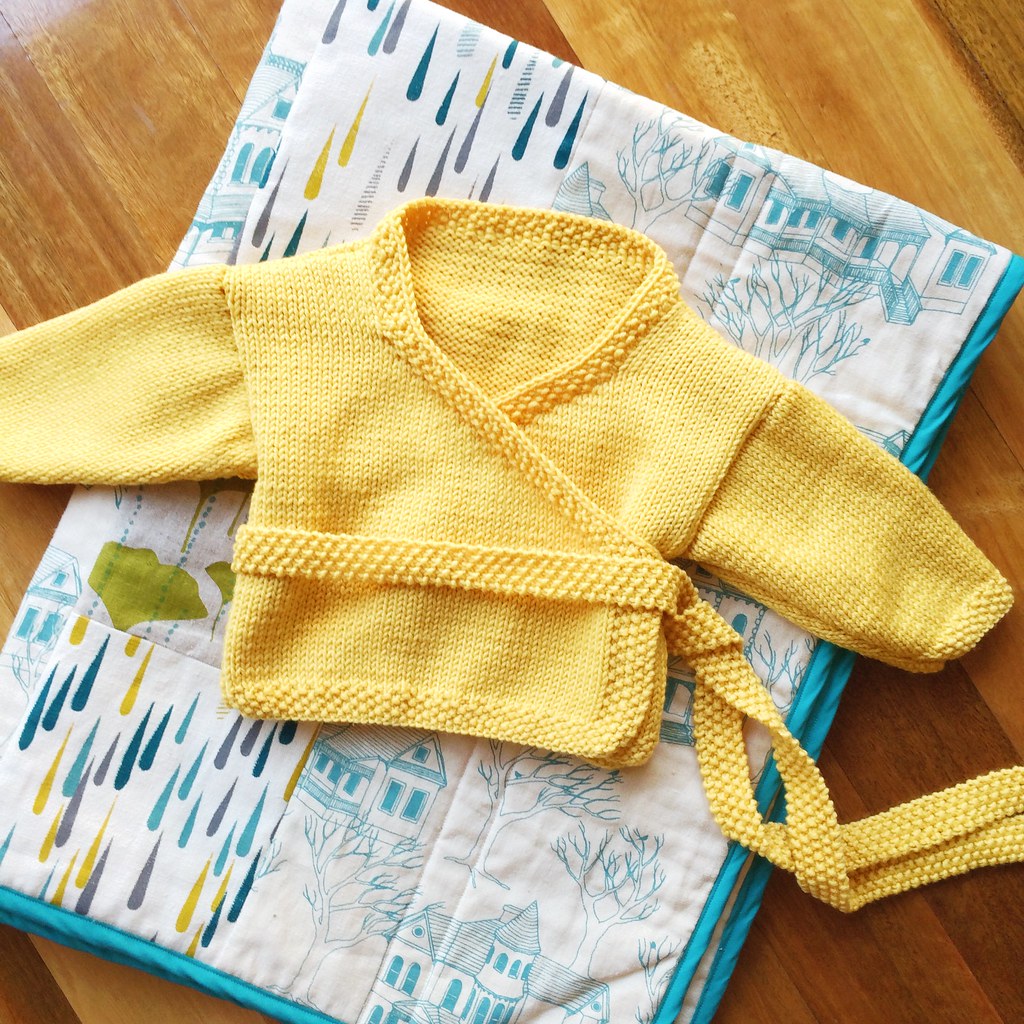
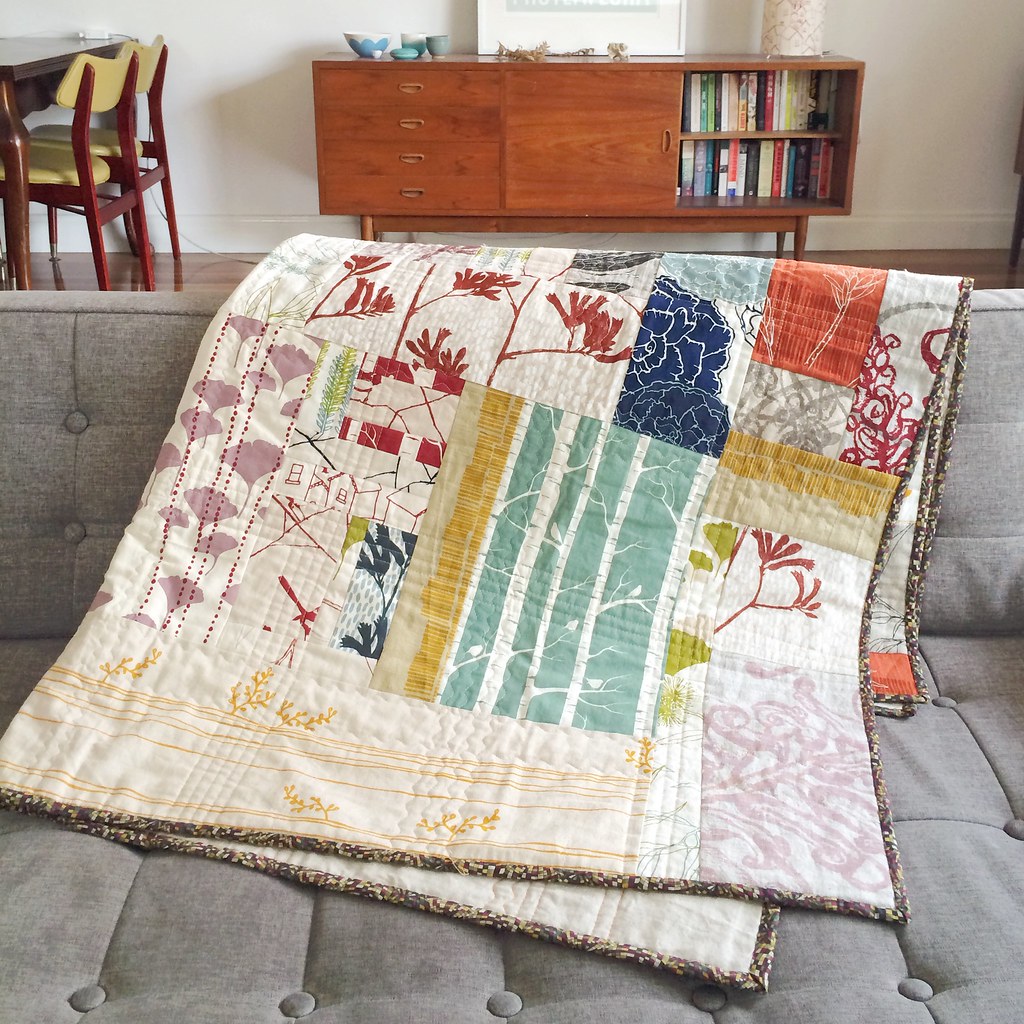
More cuteness by talented friends - this blanket and elephant hand knitted by Dave's super talented workmate Ophelie
So, hopefully next time I post it'll be a picture of a cute little person who's finally decided to greet the world. Wish me luck! xx