skip to main |
skip to sidebar
Sometimes I come on here to write a post and wish that I had some interesting life stories to share, rather than just posting a torrent of crazy patterns. But it's just been work work work around here, and nothing I can legally show until it's in the public domain.
I've been giving a lot of thought to what to call my Etsy shop, and a few people have reinforced the notion that it should be Kirin something, to match this blog. Kirinmade? Kirincraft? Kirin Small Goods?
Oh I do have some news - I farewelled my brother and his wife today as they're off to live in the US for the next few years. He landed himself a job at Microsoft, whilst my other brother is already over there working for Google. (So i'm nerdy and cool by association).
Anwyay they got me a webcam and a microphone as an early birthday present so we can Skype together, which is pretty cool :)
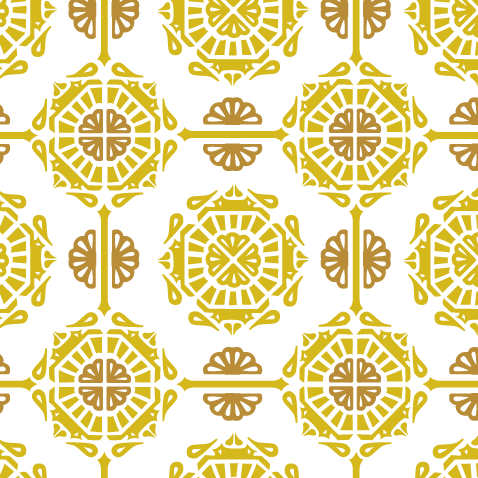
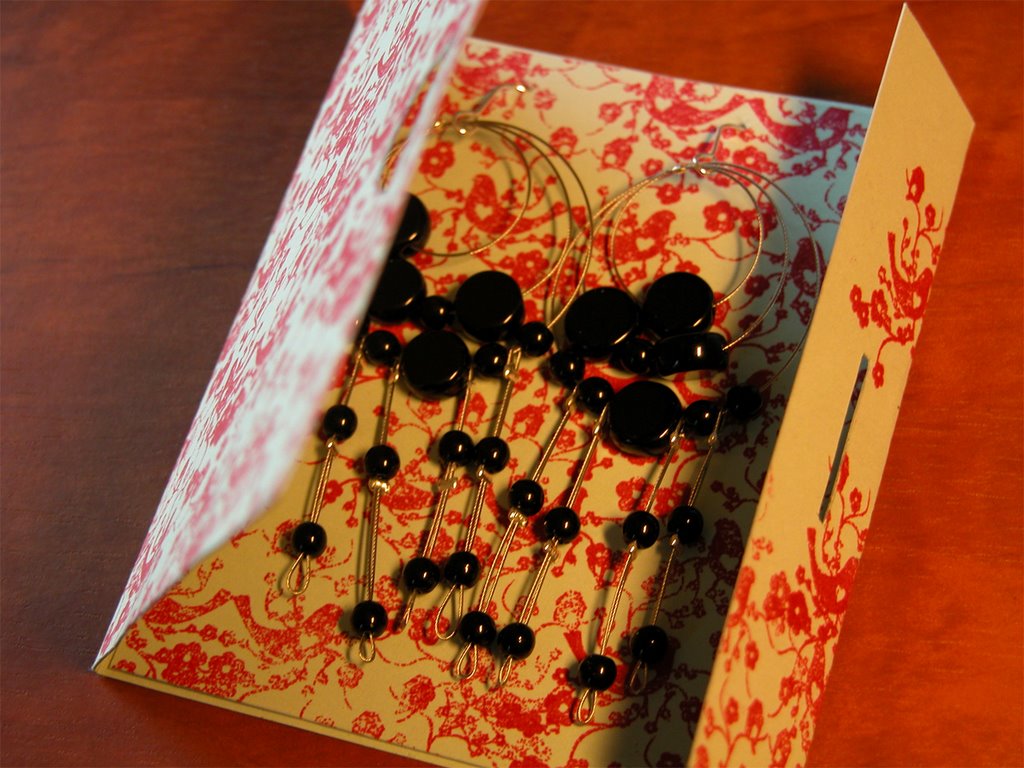
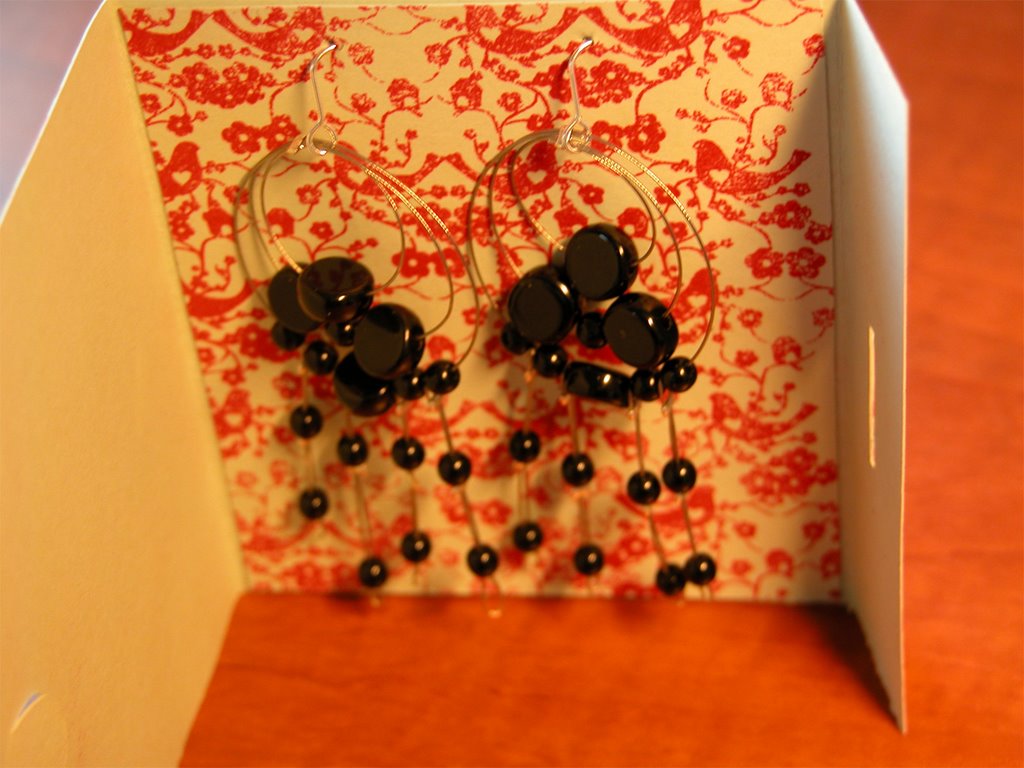
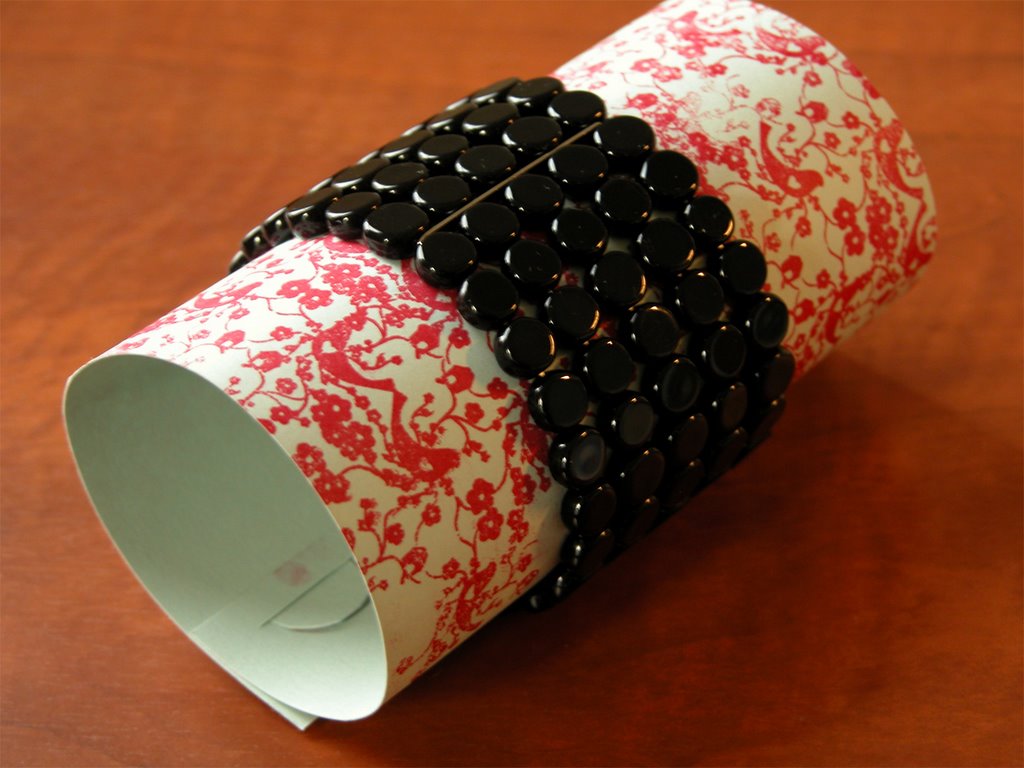
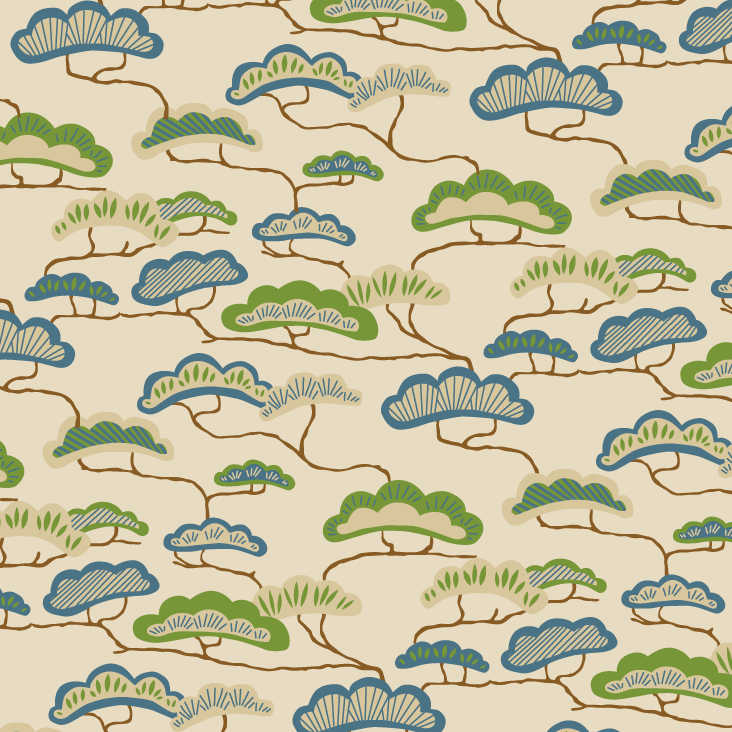
Some more patterns:


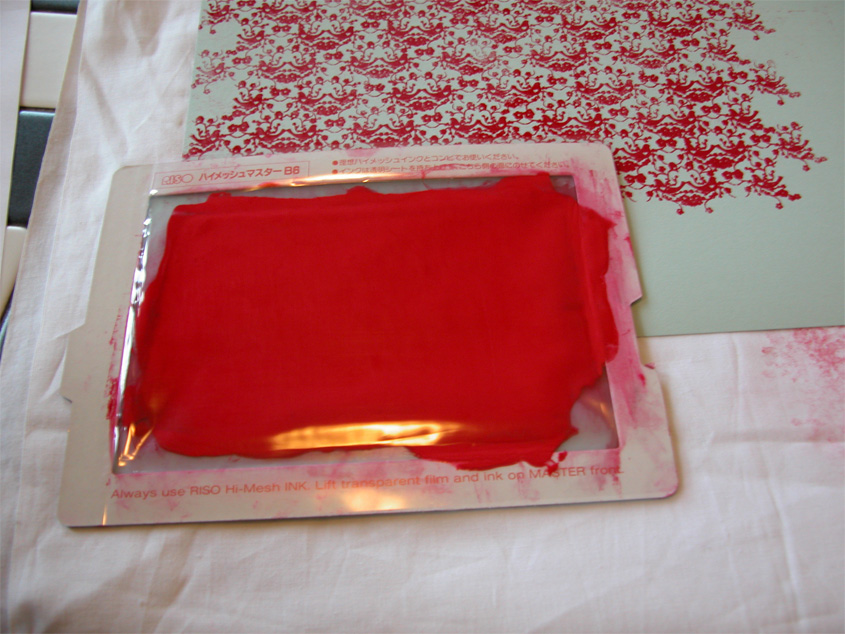
Today I figured out how to print my Gocco pattern "tile" in multiple repeats, using a home made registration plate. In case anybody's interested, I thought I might document the process. Here it is!
 My home made registration plate, made out of some polypropylene from the art store. It's the same size as a Gocco screen, but you'll notice I've cut an indent out of the top edge, leaving two little tabs sticking up at either end.
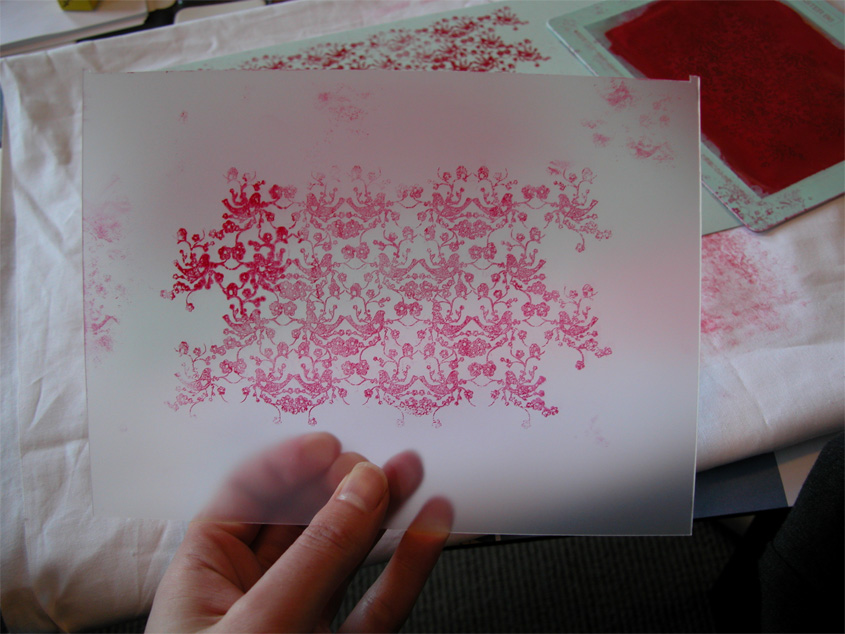
When printing onto this plate, I made sure that it's edges were lined up with the edges of the screen. None of this printing is done using the actual Gocco machine by the way... just my modified squeegee method - I'll explain that later. Okay so here's the registration plate positioned carefully on the paper so that it continues the pattern. (I'd already done a few tiles at this point before I decided to take photos).
 Here's a delicate bit - the edge of the screen is placed down on the paper so that it's touching the top edge of the registration plate (being careful not to bump the plate).The two little tabs sticking out of the top of the registration plate sort of fit under the curved corners of the screen.
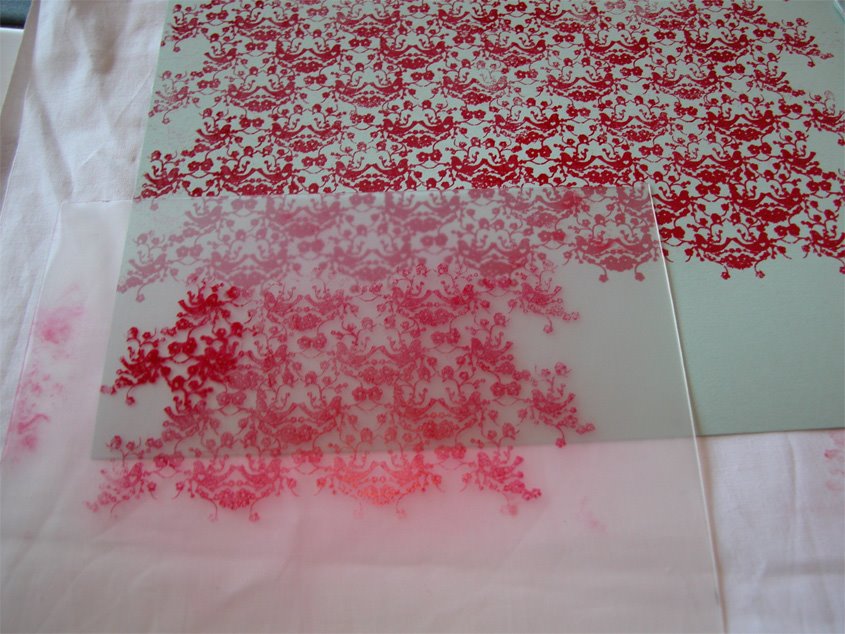
 The registration plate is removed, and the screen is slowly lowered down onto the paper (being careful not to let it slip around). The indent cut out of the registration plate means that when lowering the screen from a standing position, it lands exactly where the registration plate was, rather than slightly higher.
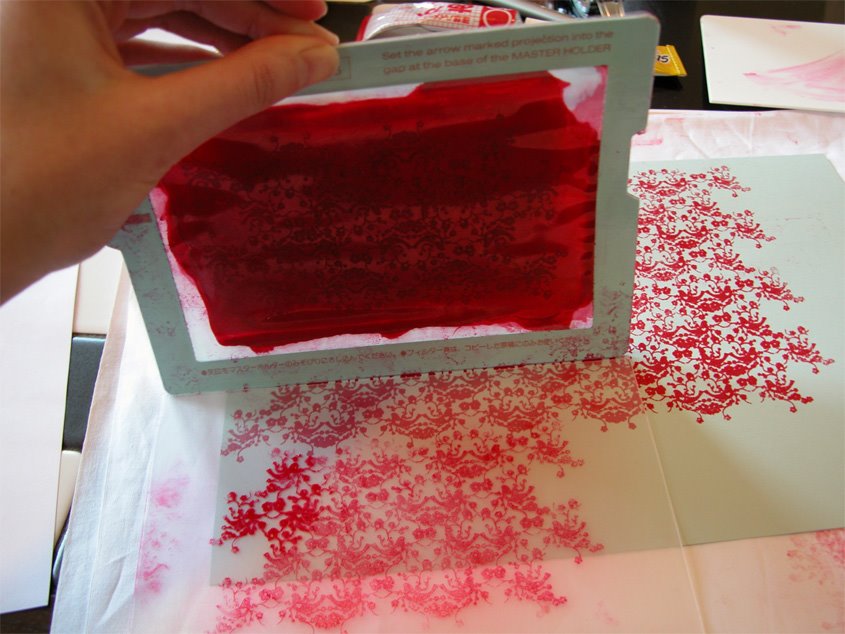
To perform the print outside of the machine, I ink up the screen as normal, cover it with the transparent film, and use a hard piece of plastic to squeegee the ink back and forth. Probably not very "screen friendly" but it's the only way I can think of. Other suggestions are welcome!
 The final product. Not perfect, but I suppose that just adds character :)
A very attentive commenter just made me aware that I've had this blog up for a whole year now! Granted the first few months didn't have anything interesting up at all but still... that's much longer thank i thought! Time flies when you're having fun :)
This week has been a bit craft-quiet due to catching a cold and being super busy with work - I've squeezed in a few days of freelance next week, at the good ol' Lonely Planet where Pete and I first met - awwwh. Will be good for me to be around other creative people again for a little while.
Meanwhile I was very impressed upon finding this Sydney based designer/blogger who's actually taking things to the next level by designing, screenprinting and making stuff out of her own fabric designs. It's great to find someone who's doing all of those three things at once. Nice designs and quite motivating :)


