
Cushion covers with invisible zips - let me show you how!
It has been a very, very VERY long time since I've posted a tutorial on this here blog. Truth be told it's been a long time since I've learnt how to do any new and exciting things, until last weekend when Pete's mum showed me how she made cushions with invisible zips!
They look great, but the thing that excited me most was that it was EASY. Like 10 gazillion times less fuss and hassle than any other technique I've tried for sewing zips. So I decided to document the process and share it with you lovely folk. Now I must say that although Heather showed me how to do this, she originally learnt the technique from here, so huge kudos to the Sew? I Knit! Blog!
Step 1) Cut your fabrics to size. I'm making covers for a 45cm cushion so my pieces are 47cm x 47cm including a 1cm seam allowance. I also overlock the bottom edge of each piece where the zip is going to go.

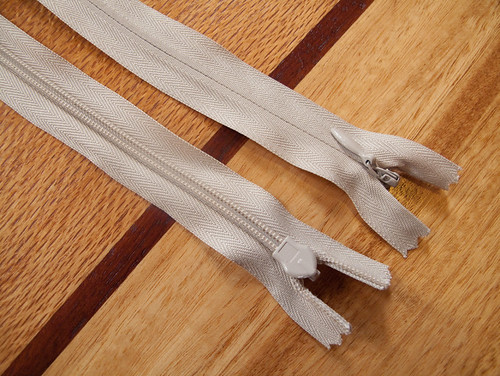
Step 2) Prepare your invisible zip! Pictured below are the sort we buy. They're "heavy duty" ones, and you'll see that the bulky teeth side of the zip is the BACK rather than the FRONT like on normal zips. We use a 40cm zip for a 45cm cushion.
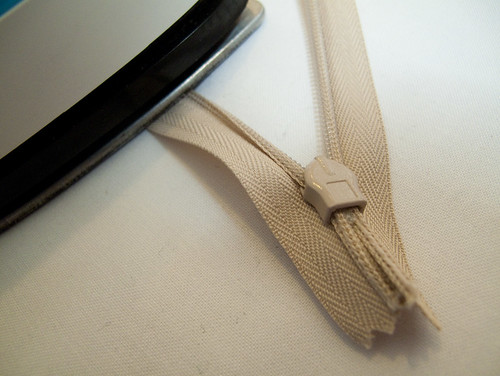
Now it makes the sewing process a LOT easier if you iron the zip out flat before you begin. Open the zip completely and see that you can kind of 'roll' the teeth outwards to expose some tiny stitches beneath. Iron the zipper with the teeth rolled outwards as shown below, and just go as close to the zipper head as you can. Use a low heat setting so as not to melt the teeth!
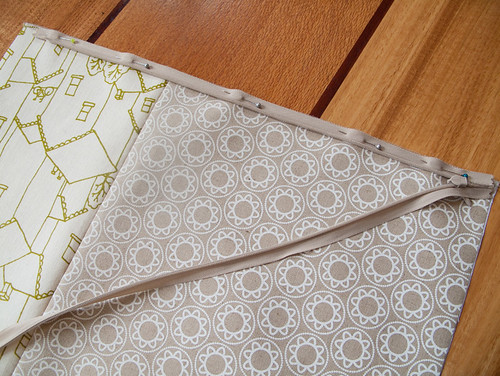
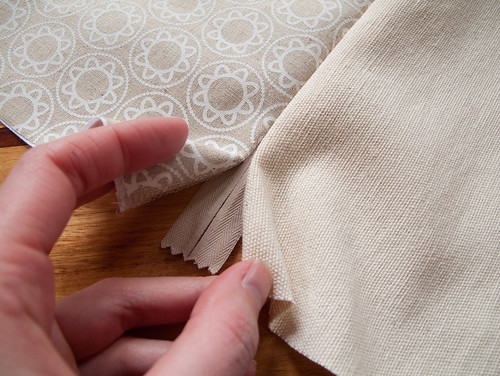
Step 3) Pin the zip in place. Open the zip right up and lay it along the bottom edge of your fabric. The RIGHT side of your zip should be facing down, with the RIGHT side of your fabric facing up. The zipper tape should be lined up with very edge of the fabric.
Also, you'll notice below that I've positioned the zip to one side, with the closed end starting right in the corner. I'll explain this later.
Step 4) Prepare your invisible zipper foot. Okay these are often very weird plasticcy contraptions, but they're not expensive and you can get them from most sewing places. There's generic ones that come with various attachments so you can fit them on any machine. YOU MUST USE AN INVISIBLE ZIPPER FOOT. Trying to sew an invisible zipper without one would be very tricky indeed.
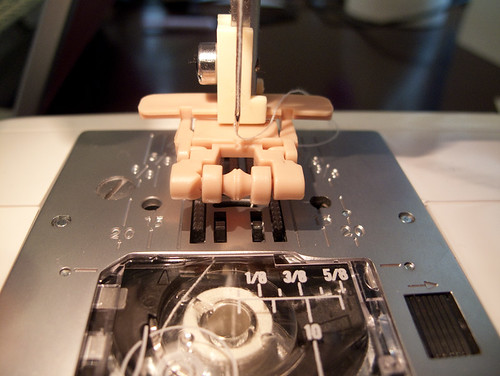
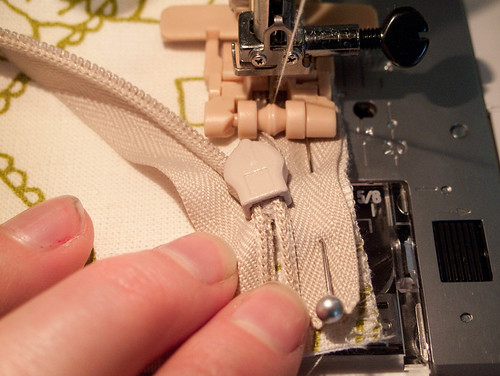
Step 5) Sew your zip in place. You'll see that the invisible zipper foot has two grooves in it's base. Your folded out zipper teeth will fit in one of these grooves whilst the needle stitches very closely beside the teeth. You'll probably need to adjust the position of the foot or the needle to get a nice close stitch. Begin sewing where the zipper teeth start and stitch towards the zipper head. Keep the teeth folded out flat as you go.

Sew along the length of the zip, removing pins as you go, until you reach the zipper head. You'll probably get to about 1cm away from the zipper head before you have to stop. That's fine. Just do a locking stitch and raise the foot. You're done with that side!
Step 6) Sew the other side. Repeat steps 3-5 for the other side. Be careful to pin the correct side of your zip to the correct side of your fabric:
Sew along the length of the zip as you did before, this time with the teeth of the zipper in the OPPOSITE groove to the one you used before. Sew until you reach the zipper head and stop, do a locking stitch and raise the foot.
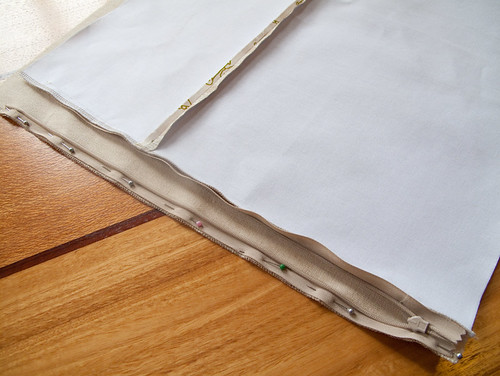
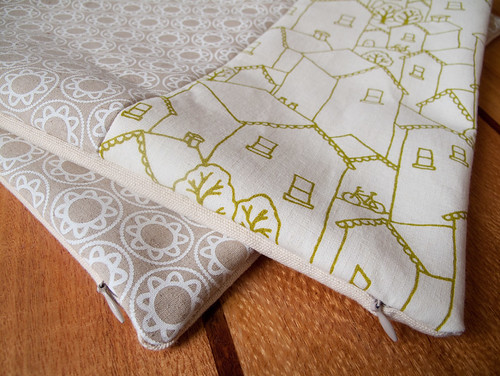
Step 7) Finish off the ends of your zip. If you close your zip completely (ooh it's so neatly concealed!) you'll see that the head and tail of the zip are still exposed. Like this:
And this:
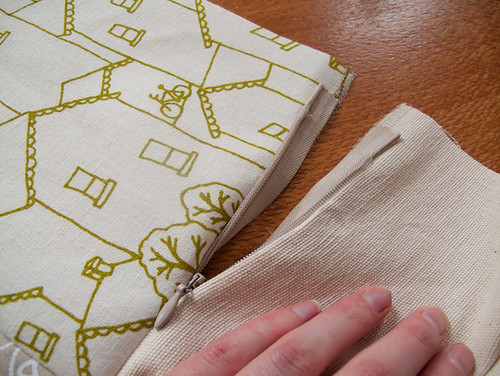
But to close these ends off is quite simple. Lay your fabrics together again right sides facing. You'll see where your zip stitching ends - a few centimeters from each side of your cushion.
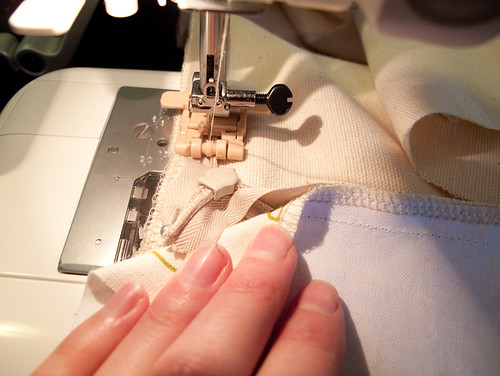
Attach a normal zipper foot to your machine with the needle to the right of the foot. Sew in from the side of your fabric and try and get as close as possible to your existing stitches. Hold the ziper tail out of the way so it doesn't get caught in your stitches.

Do the same at the other end. When working the open end of the zip, make sure that your fabric & stitches are lined up correctly, and move the zipper head along a bit so it's not in your way.
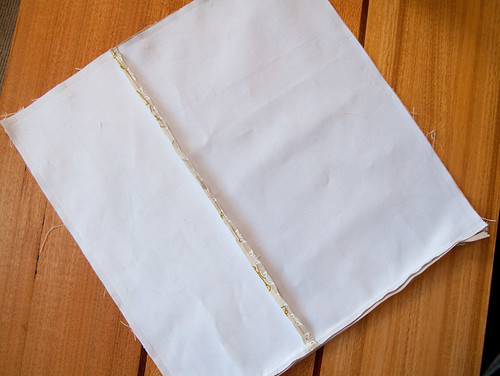
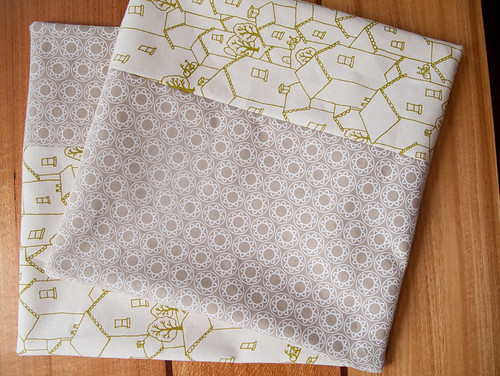
Step 8) Admire your handiwork so far. Doesn't it look all neat and tidy? Wasn't that so much less painful than you expected? Also notice that your zipper ends up being more or less centered because of how we offset it's position in the first place.

Step 9) Finish it off! Finishing the cushion from this point is a simple affair. Simply lay the cushion front & back fabrics together right sides facing and stitch around the remaining three sides. Make sure you open the zip first before doing so! Then overlock the edges if desired.
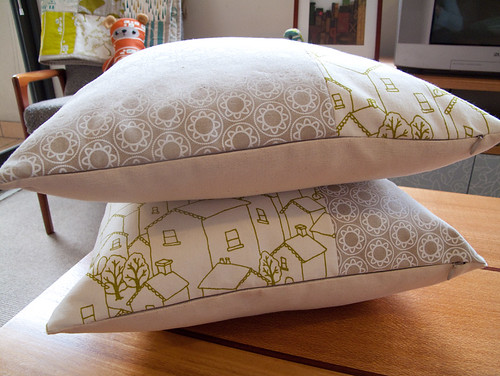
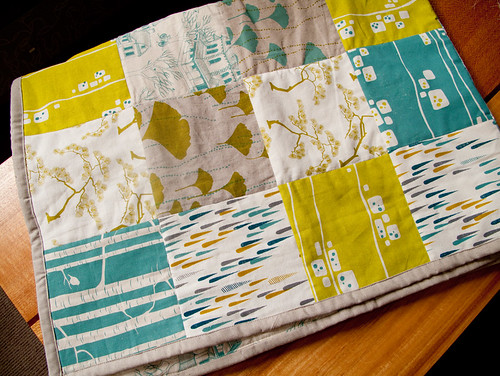
Et voila! Here's the ones I just made for our home:
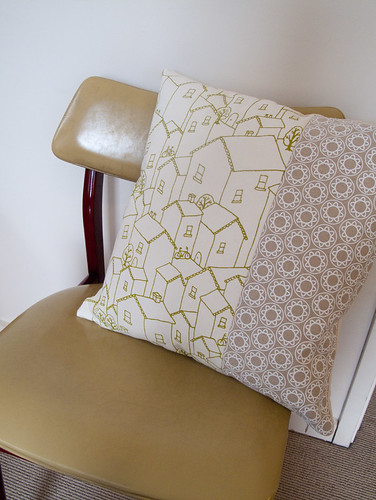
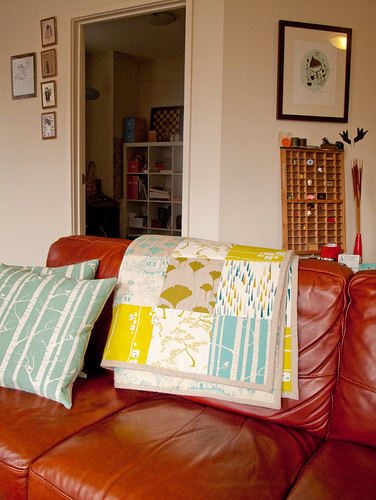
Cushion with Rooftops and Delft
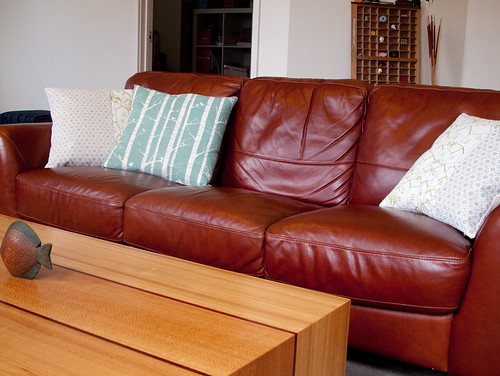
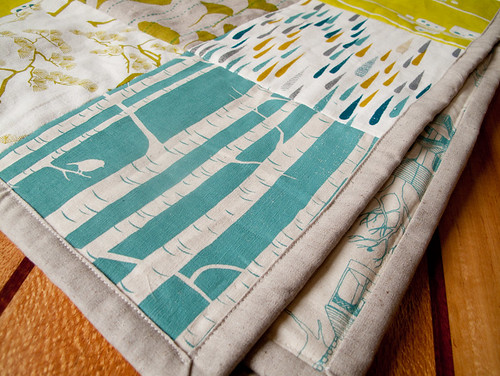
New cushions hanging out on the couch. Featuring Delft, Rooftops & Birch prints.

